
Olympus E-PL5
It’s a small camera with surprising amounts of power!
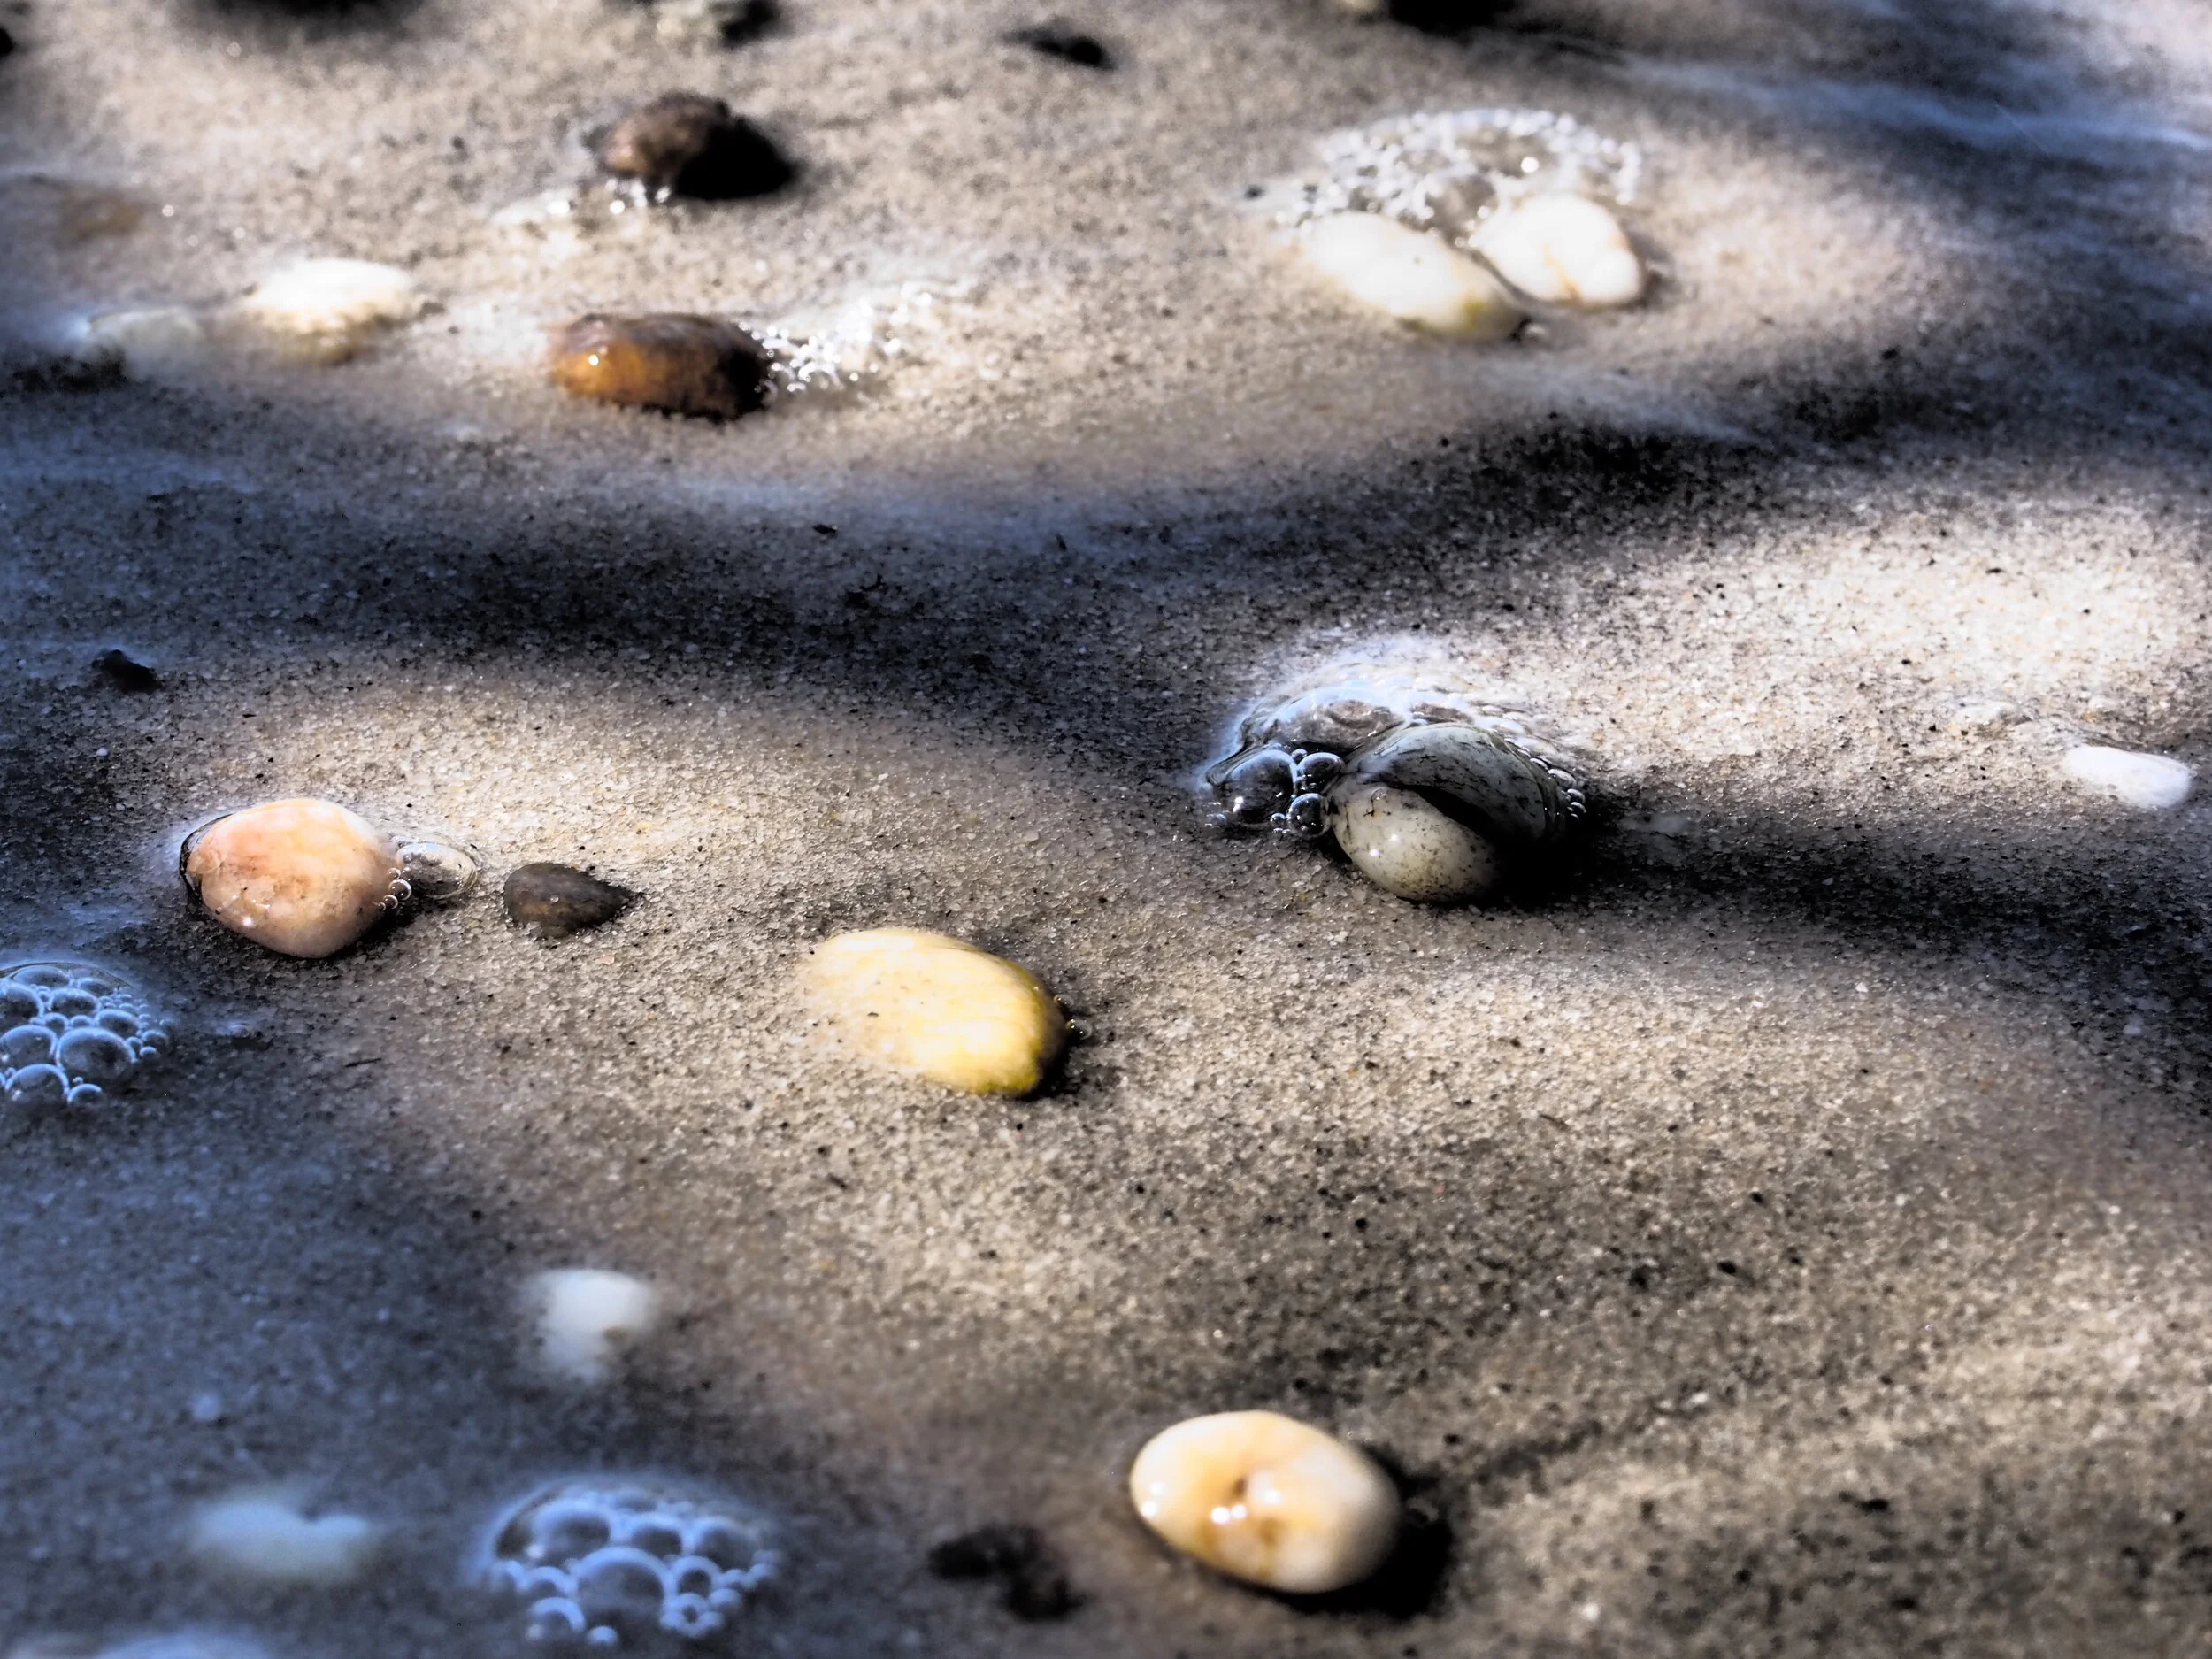
Straight out of camera, the pen deals well with situations that may prove to be challenging like high contrast mid day sun.
Olympus E-PL5 with M.Zuiko 45mm F1.8
Let’s get one thing out of the way first and foremost, this camera probably won’t replace your professional level camera. In reality it isn’t trying to either. It’s a simple, trendy, and fun to use camera that can really lay on the performance when it needs to!
This is a long review. There is quite a lot of content to discuss, and I tried to be as detailed with what I found this camera to do well with.
The Overview Review, AKA the TLDR
If you don’t want to read a full review, but wan’t to know enough to see if it’s right for you, just read this section.
Let’s start with what I like about this little camera. The design of it is well built, with a mixture of what seems to be metal and polycarbonate. I’m not sure what the body is made of, and honestly don’t care, but it always feels cool to the touch like metal. The screen can tilt up and down for waste and overhead shooting. The autofocus is fairly snappy, and for most moments plenty fast enough. The touch screen makes autofocus a breeze. The electronic viewfinder attachment is pricy but makes shooting so much easier in bright conditions. The camera has in body stabilization as well, and this makes hand held shooting, macro shooting, and video work a bit easier (more on that video later). The screen always looks good and sharp enough that I have no complaints; it’s brightness and clarity are fantastic for a screen with only 460k dots. In case you were wondering a 460k dot screen has a resolution about 480x320. The Super Control Panel is a requirement for avoiding having tog go into the menu system to make changes. The display is touch which makes navigating that panel even faster and easier. There is always a choice to use either the buttons or the touch for most options I’ve experienced. Despite it’s age, the camera doesn’t look terribly old. In fact, it’s getting near the 10 year mark in its age. It’s quick to learn what all the buttons do, almost like it’s intuitive despite being different from every Canon and Sony I’ve shot. It’s grip is small yet I never feel like it is about to fall out of my hand. The kit lens it comes with also collapses, making it about the size of the 45mm 1.8 that Olympus caries. Most of Olympus’s M. Zuiko prime lenses fit flawlessly and balance well. This makes the camera perfect for Street photography with it’s small size and inconspicuous lenses. I was more surprised when I found out it has face tracking, and even can try and focus on whatever eye you specify for it to. It’s not flawless, but it is better than trying to fit an AF point on my DSLRs that I used to shoot.
Below is an example of what happens when you crop too far or zoom in too much when using this lens. The lens is zoomed in at 100% (42mm) and aperture wide open. This just give an example on how the lens is fine in most cases, but if you are printing big or plan to crop you need to be aware of it. This would be the same situaiton on any camera with this lens.


So there is a lot to like about this camera. With the good comes the bad. Speaking of bad, the Kit lens is far from spectacular. Now I know that kit lenses are not the best, but for some reason I expected more from Olympus. They don’t really manufacture a bad lens these days, yet there this one is on my camera and leaving me a bit disappointed. It has more color fringing and softness than what I would like to see. The lens itself isn’t worse than Canon, Sony, or Nikon. The video is another thing that struggles. The footage is all interlaced, which in and of itself isn’t a complaint for the time, but it does a lot of color blocking at times when there is abrupt changes in the scene. It’s distracting, and doesn’t look great. The built in microphones are not great, but honestly better than many of the other mics I’ve seen on cameras. This includes more expensive models. The menu system is also clunky at best. Most everything I had to google to find for the camera as the manual doesn’t help you with figuring most of it out. This is only an issue really for advanced shooters, but for beginners the standard screen layouts and menu do okay. That super control panel I mentioned earlier is off by default, and requires way to much work to enable it. To do so you have to enable the category in the settings menu as it is hidden by default, and then have to find it in that menu with little context on how to do so. Even when you do, the setting isn’t called “Super Control Panel” but “SCP.” IF you didn’t google it first you wouldn’t be sure what SCP even means by the name of the category it is in to enable the feature in the first place. The AF point button is also a bit tricky, as it’s by the screen which just sticks out from the body enough that it’s hard to press. Those are mostly nit picks, but the SCP is a game changer. Why did they make it so hard to enable. Same goes with the AF select mode.
You’ve made it this far. Below goes more into the details of the camera. What I really love about it, and what makes it a solid options in a sea of used cameras.
Image Quality, Image Stabilization, and Art Filters
The dog may not be happy, but when the E-PL5 is paired with any of the compact F1.8 M.Zuiko primes it creates detailed results.
In terms of image quality, it’s quite nice. The images as JPEGs come out looking nice, punchy, and not overdone. Of course the lens you use will greatly affect that. Seeing as this camera comes with a kit lens, we have to take that into account. The kit lens is good enough for a general camera. It’s not the sharpest, but it still can create a pleasing image with little fuss. This camera really shines when you use a prime with it. I pair it often with the 30mm macro and 45mm quite often to get some sharp results and pleasing images. The sensor is a 16 megapixel affair. It’s more than enough to print a family photo up to 11x14 with no complaints. Use a sharp enough lens and I’m sure you could print even larger, but I wouldn’t get too greedy unless you know your file has plenty of detail. The camera also has a first curtain shutter that helps with camera shake. It let’s you even customize the delay in how long the shutter for the camera releases as well.
Where the kit lens is a joy to use is with the included art filters. They create JPEG images with special effects. Cross development is my favorite. Many of the art filters will have options you can set as well like vignettes or different color effects. Cross Develop can give a more muted green and yellow bias, or a more warm magenta and orange bias. The art filters are even fun to use if you are a professional or enthusiast. It allows you to quickly share your work without spending a bunch of time editing. You can use the art filters in video modes, but I don’t recommend it. They become a choppy mess with a frame rate that is unusable. The camera shoots RAW and JPEG, or both if you so desire. I like to do both when shooting art filters so I can have a Raw file that is the original unedited shot, and the art filter to quickly share on social media when I get home. Art Filters are tons of fun to use with the 15mm and 9mm body cap lenses. They are perfect for bright daylight shooting and mixing with the art filters. They provide a small and compact package that provides a look like something out of a Holga. The art filters don’t need the best lens to really shine, they just need an image to apply the effect.


One of the benefits of the Olympus Micro Four Third system is the built in stabilization. It works well enough that you can confidently shoot at lower shutter speeds with proper technique. Using the optional VF-2, VF-3, or VF-4 makes a big difference in technique as you can use 3 points of contact. The stabilization also works in video, but honestly I don’t think it helped that much. It was better than nothing, but not enough to say it was great.


Raw files actually store alot more data than I expected. Blown highlights are just not recoverable in most case I’ve seen. Shadows offer a surprising amount of recoverability. I often find myself shooting more to the shadows than I do to the highlights. This compensates for how quickly this camera likes to blow out highlights. I like to bring this camera with me on professional shoots. Paired with the 45mm 1.8 it makes for a great candid camera and behind the scenes camera.
Video
If this cameras is a great option for beginner photographers, it’s a hard pass for video. The camera shoots up to 1080i video. That i stands for interlaced. This means each frame only draws every other line, and the next frame is the missing lines from the first frame. The video quality is also something that feels very… basic. There are blotches of colors, and getting the camera to expose properly fro the scene is not a fun experience. The camera gives you the option to shoot in either Motion JPEG or Quicktime MOV. Motion JPEG only applies to 720 footage. The nice thing is in any camera setting the camera let me just hit the record button and go. It even let me set the setting ins Shutter and Aperture priority, and held them. This is something you don’t see even today in entry level cameras. I would avoid using that feature with the Art Filters as it produces videos that are about 1-4 frames per second. It’s not pleasant. There is IS in video, but it’s not the best. I would recommend turning it off and finding an image stabilized lens to use instead. There are many choices in Micro Four Thirds, and honestly I would just use something else for video all together like and EM-10 Mark III or Mark III for a beginner video camera.
Video content with examples coming soon… when I feel like splicing it all together.
Auto Focus
The Auto Focus on this camera is shockingly quick for its age. It performs well, and does have a few tricks I wouldn’t expect from a camera of it’s time. Let’s start with face detection AF, and more specifically eye detection. This camera let’s you set eye priority as left, right, or closest. In my experience, it worked quite well, but wasn’t flawless. You need to be close to your subject for accuracy and it to detect. For headshots it works quite well. The AF speed won’t help you much with sports, as the contrast detection system just struggles to keep up. I did find it doesn’t hunt when acquiring focus in most cases. I usually just snaps into place like magic. I did struggle with getting it to focus doing macro work at times, but usually just focusing on something closer and then back to my subject worked well every time. Most of the time, there wasn’t an issue with macro work, but it is something that comes up from time to time.


Video AF works well enough as well. I never noticed hunting when I tested the camera. The system will let you tap to focus or half press of the shutter as well to refocus. It had no issues tracking my face in selfie mode with the kit lens. It tracked noodle well enough, loosing focus if me moved away quickly but refocusing automatically without hunting when it did. It’s strange to see a contrast detect system work like this in video, but maybe the slower refocus speed is how it works. Where I did finally see significant hunting was when using the shutter button to refocus. I didn't notice it when I tapped the screen. Again my subject to test it on was a dog being aloof on the beach. Check the video footage to see how it acts, as well as how smoothly it recaptures movement. Just for the fact it’s smooth, I’m more than impressed with it’s smoothness and accuracy when it acquires. I’m less impressed with the speed.
The Super Control Panel is Super Awesome!
I’m not to sure how this is on all Olympus Pen cameras; I feel it merits talking about it. The best thing about this little bastard is the Super Control Panel. It will be referred to as the SCP from here on out. The SCP takes most all of your common menu settings to display when you hit the OK button while composing your shot. It let’s you view the AF system, metering, white balance, ISO, live view display settings, Record settings, and preview what each of the buttons will do when pressed among a few other things. It’s really a nifty screen. It’s just not setup by default to display.
It’s one thing if it were a quick menu item to enable, but it’s not. I guess in a way to keep the camera simple, Olympus disabled that part of the menu from being displayed. So how do you turn it on you ask? Let’s look into that.
The first thing you will do is press the menu button. Go to the Setup Menu (the wrench) and select Menu Display. Menu Display will have a gear next to it. Turn the two options on or off, but you must enable the gear menu (AKA Custom Menu) to access the SCP. The other menu is for the accessory port menu. Now that the Custom menu is enabled, go into the gear section and find option D. Inside of Option D is an options called Control Setting. Selecting that will let you decide which menus display the SCP. The SCP is one of the most useful features in the camera, and if you are shooting in the manual modes, then I highly recommend turning it on for PSAM to make image taking much easier and faster.
Usability
The camera in it’s default form is pretty straight forward. The shutter button and control dial are on top. The control wheel is combined into a 4 way button controller on the back by the screen. The screen tilts up and down as well as flipping up 170 degrees. The top has a hot shoe that supports Olympus accessories with it’s port directly below (which I prefer over Sonys method of using the hot shoe). There is no built in viewfinder, but adding one on is easy enough. When using a viewfinder, you do have to manually turn it on and off, but that’s a minor gripe. By default the FN on the back is set to the live guide to help with automatic shooting menus. This enables features like motion blur or color settings without having to know about photography. You won’t know about this unless you read the manual though. That manual is also intimidating for most people who don’t know photography. I feel like this feature went unnoticed by most users.
It’s easy to capture candid shots wiith it’s compact size and unassuming looks. This could be a great street photography camera.
Pen E-PL5 at 1/1000 of a seccond F2.5
In terms of ergonomics, it’s better than many of the other compact cameras I’ve used. The Sony a6X00 series does have a better grip, but it’s also much larger. The entry level EF-M series from Canon is much less easy to hold, while the higher end M series bodies are about the same grip wise. If this camera were paired with the M. Zuiko 14-42 pancake from Olympus it would be the perfect balance between size and ergonomics. Alas it does not, and a newer Pen camera which comes with that lens makes for a great option. There are some issues with button placement, The focus point button is right on top of the screen so it’s a challenge to press it. There is also the locking mechanism on the lens. It doesn’t lock the lens when stored, but does lock it when extended. It’s a gripe that means nothing. I just find it funny it can be extended by accident.
The display is not the highest resolution, but it is sharp enough. When composing images it works quite well actually. In terms of the viewfinders, I can only speak of the VF-4. It works quite well. The clarity is very good, and it looks like the image from the sensor takes full advantages of the VF, but the menu items and icons feel like they are a lower resolution. That being said, it’s not a bad option and the menu options are clear and easy to read through said viewfinder. It’s like you can see the pixels of the menu items, but not the image you are composing. Keep in mind, the viewfinder is newer then the camera. I would like to grab an E-PL8 and see if it does the same thing as it’s the last Pen to allow the use of the Electronic Viewfinder.
Despite having the finder, I do use the camera from the screen more often than not. The tilt screen is a blessing. I never knew I wanted one until I got one. It made composing macro shots much easier, and the weight of the camera was light enough to not be exhausting (i’m looking at you 5DS) yet heavy enough to keep steady.
Remember the Super control Panel. To get to it you have to enable the menu from the menu screen. This is where a lot of the Pen struggles. It’s menu and user interface is a bit cumbersome at best and confusing at worse. Finding certain things are a nightmare, and other’s like the SCP are impossible to find if you didn’t know about it to begin with. This is the only real downfall I can give the camera beside some of it’s physical controls. It’s a very complex menu that is much trickier to learn than you first expect. That doesn’t mean you won’t learn it, and when you do it’s a wealth of features you can use for a multitude of settings.
Verdict
It has the Noodle Pei of Approval Seal, so you know it’s a great camera! Pair it with a few of the M.Zuiko Primes from Olympus or even the Sigma Micro Four Thirds primes for a great option on the go.
The Pen E-PL5 is a small, light, entry level camera that provides high quality results and tons of features for the price. Those features come at a cost more than monetary. The menu system is clunky and confusing even before unlocking the custom menu. If you are looking for a camera to learn on, then the Pen E-PL5 is a great options at an affordable price. It offers similar image quality to the current Pen line up. It features a large set of options to grow and learn more about photography. It’s a great camera with lots of growth and flexibility, making it a highly recommended beginner camera for anyone looking to get into photography on a budget. Paired with compact primes like the ones from Olympus’s M.Zuiko lineup or Sigma make a camera with image quality that can’t be beaten for the size. I find myself using the 45mm F1.8 a lot with this camera and it’s a phenomenal pairing.
Specs
Sensor: 16 Megapixel (4608x3456) Micro Four Thirds Sensor
Shutter: 1/4000 to one minute mechanical shutter, silent shutter (electronic), Anti Shock (electronic first curtain shutter), up to 30 minutes in Bulb, Flash Sync at 1/250 of a second
ISO: 200 to 25600
Shooting Speeds: 8 FPS with no IS and single shot
Metering: The usual affair of Spot, Center Weighted Average, and one called Digital ESP which I have no clue what it does nor do I have the motivation to check
AF: Contrast Detection with 35 selectable AF points as well as touch to focus/shoot and Autofocus Illumination Lamp
Battery: BLS-5 and BLS-50
Image Stabilization: 2 axis up to 3 stops
Card Format: SDXC UHS-I SD Card compatible with Eye-Fi and Flash Air
Image Recording*: Raw (4608x3456), JPEG L (4605x3456), JPEG M (2560x1920), JPEG S (1280x960)
Image Recording Aspect Ratios: 3:4, 16:9, 3:2, 1:1, 4:3
Video Recording: 1080i 30 FPS in .mov, 720p 30 FPS in .avi and .mov, SD 30 FPS in .avi, External mic requires optional accessory, built in stereo microphones
Buffer: I got about 15 before slowdown on a Sandisk Extreme Pro UHS-1 Card recording both JPEG and Raw. Mileage will vary depending on the card used and speed of the card.
Display: 16:9 460k dot (480x320) capacitive touch display
Screen Articulation: 170 degrees up and 60 degrees down
Art Filters: 12 Filter sets with 7 art effects that can be used with the art filters
*Recording resolutions based on 4:3 aspect ratio